Mechanical Data Uploader
The purpose of this document is to inform the user on how to use the Mechanical Data Uploader and how upload a Mechanical Survey zipfile
This document will go through the Uploading of Mechanical Survey zipfile files.
Introduction
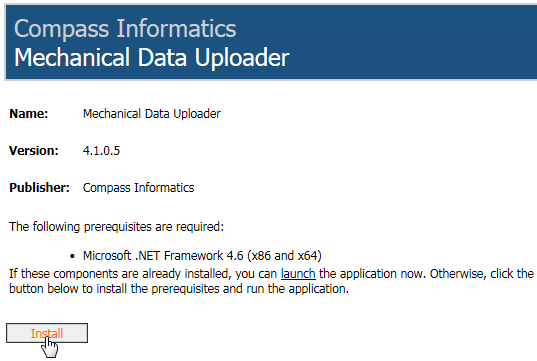
Click the link below and then Install to download the Mechanical Data Uploader (MDU). This is only required once per PC as the user will be prompted within the application to install any new versions of the uploader.
Upon opening the MDU, the application will automatically check for updates.
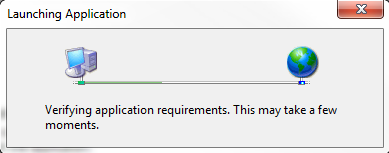
If a new version is available the user will be prompted to install this new version. It is recommended to always install the latest version.
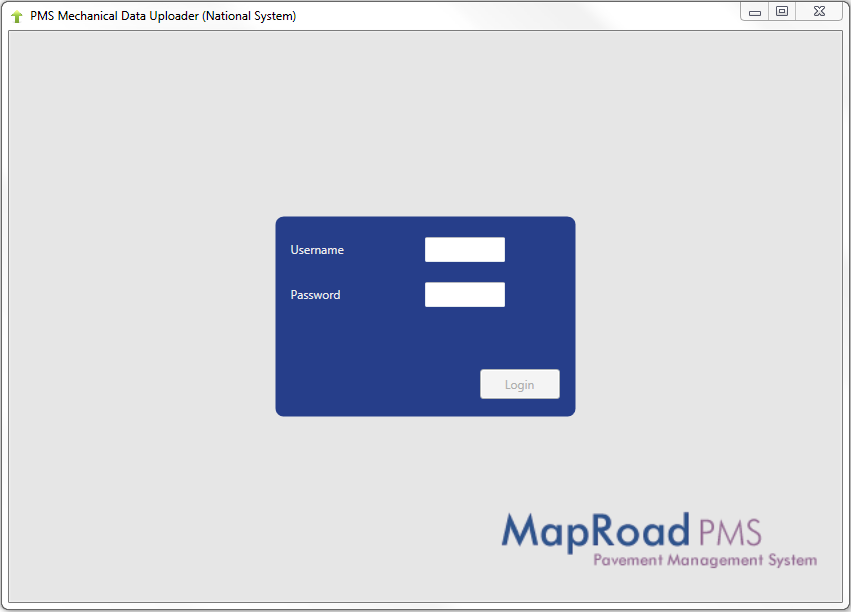
Note: username and password is case sensitive.
Viewing Data
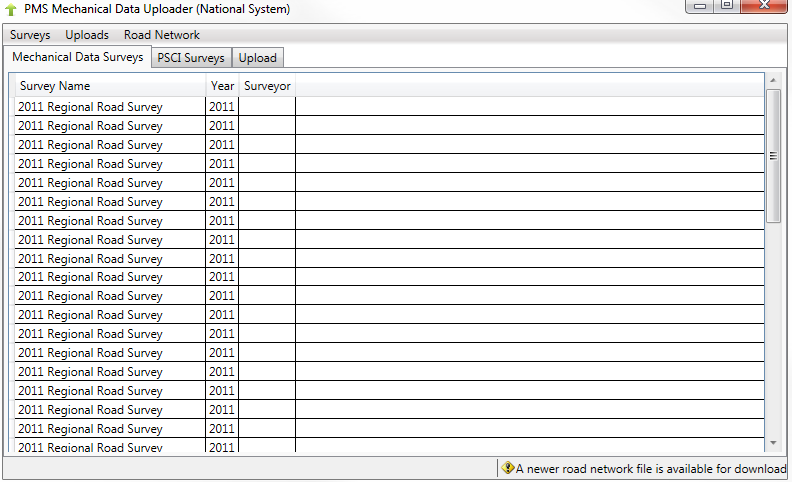
The MDU will open up displaying no data every time it is opened.
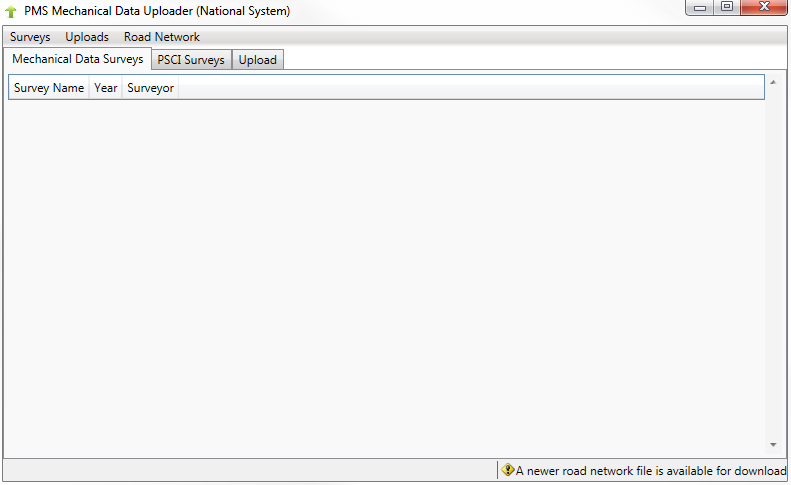
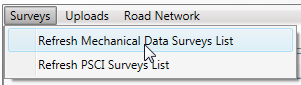
The Mechanical Data Surveys and PSCI Survey tabs are read-only tabs containing Mechanical Data and PSCI Surveys, respectively. To display data in these tabs you will need download data by accessing the Surveys tab and refreshing the lists.
Road Network
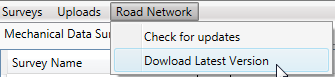
If a new version of the Road Network is available a user will see a warning message in the bottom right corner of the MDU.

If this appears and you wish to download the lastest Road Network, select Download Latest Version in the Road Network dropdown and save the zip file in a desired location.
NOTE: The user is not prompted on the duration finish time of download. The zip file should download within a few minutes and a successful download message will appear in the MDU.

The zip file will then be available in the saved location.
Uploading Mechanical Data
Go to the Upload tab to upload data or click on the upload menu.
The uploader will automatically create a Log file on your <installDir>\Logs folder. This will show all the upload information as well as any errors encountered.
This window is broken up in to two sections:
File Selection
Import Processor
Steps involved in uploading a Mechanical Survey:
Click Select Zip File and navigate to the location of survey zipfile and open it.
If the survey has no images skip this step and go to Step 5. If there are images in the file you will be prompted to add the image location. This is done via the Select Image Folder and navigating to the image folder of desired survey.
Once selected, a progress bar will show the images being matched to those in the zipfile.
After the successful location of all images you will see a green bar with no Missing Images (0) or Parsing Errors. The Upload button will now be activated.
Click Upload. A progress bar will appear at the bottom of the Uploader window.
After the successful uploading of the Mechanical Survey zipfile, a successful popup message will appear. Also, the amount of imported and processed tasks for that particular upload will appear in the bottom right of Uploader. If any errors occurred they would be listed in the Import Errors section.
Note: Numbers for imported and processed might differ and the Uploader tool will split mechanical data files by local authority so in case you are trying to upload a file containing data for multiple local authorities, you might get higher number in Imported.
Repeat from Steps 1 -6 for all zipfiles.